The Essential Guide to Airtable is the first piece of content I ever created back in 2019. I shared the backstory for the Essential Guide to Airtable on the Makerpad podcast. What's relevant for the workflow inclined folks like yourself is that initially, I used Udemy for distributing the course. Seeing the paltry revenue I made on the course (often less then 25% of the 10$ sales price), I wanted to move it to my own website.
That's where I was faced with a choice: do I use a course hosting platform like Podia or Kajabi or build my own? Of course I opted for the latter so I can later write a newsletter about how I did so (repurposing remember?).
Over 3K students later, my workflow allows me to easily update courses, gate whatever part of the course I want and easily funnel folks from the course to my newsletter (you! maybe? More on that next week).
Step 1: Create a table for your course
Obviously, I used Airtable to record my course about Airtable. Anything else would have unacceptable! My table had a record for each lesson, and fields to reflect everything about each lesson including the section, status, feedback etc. This was perfect for tracking the status of each lesson, getting feedback, every I needed for the course creation process.
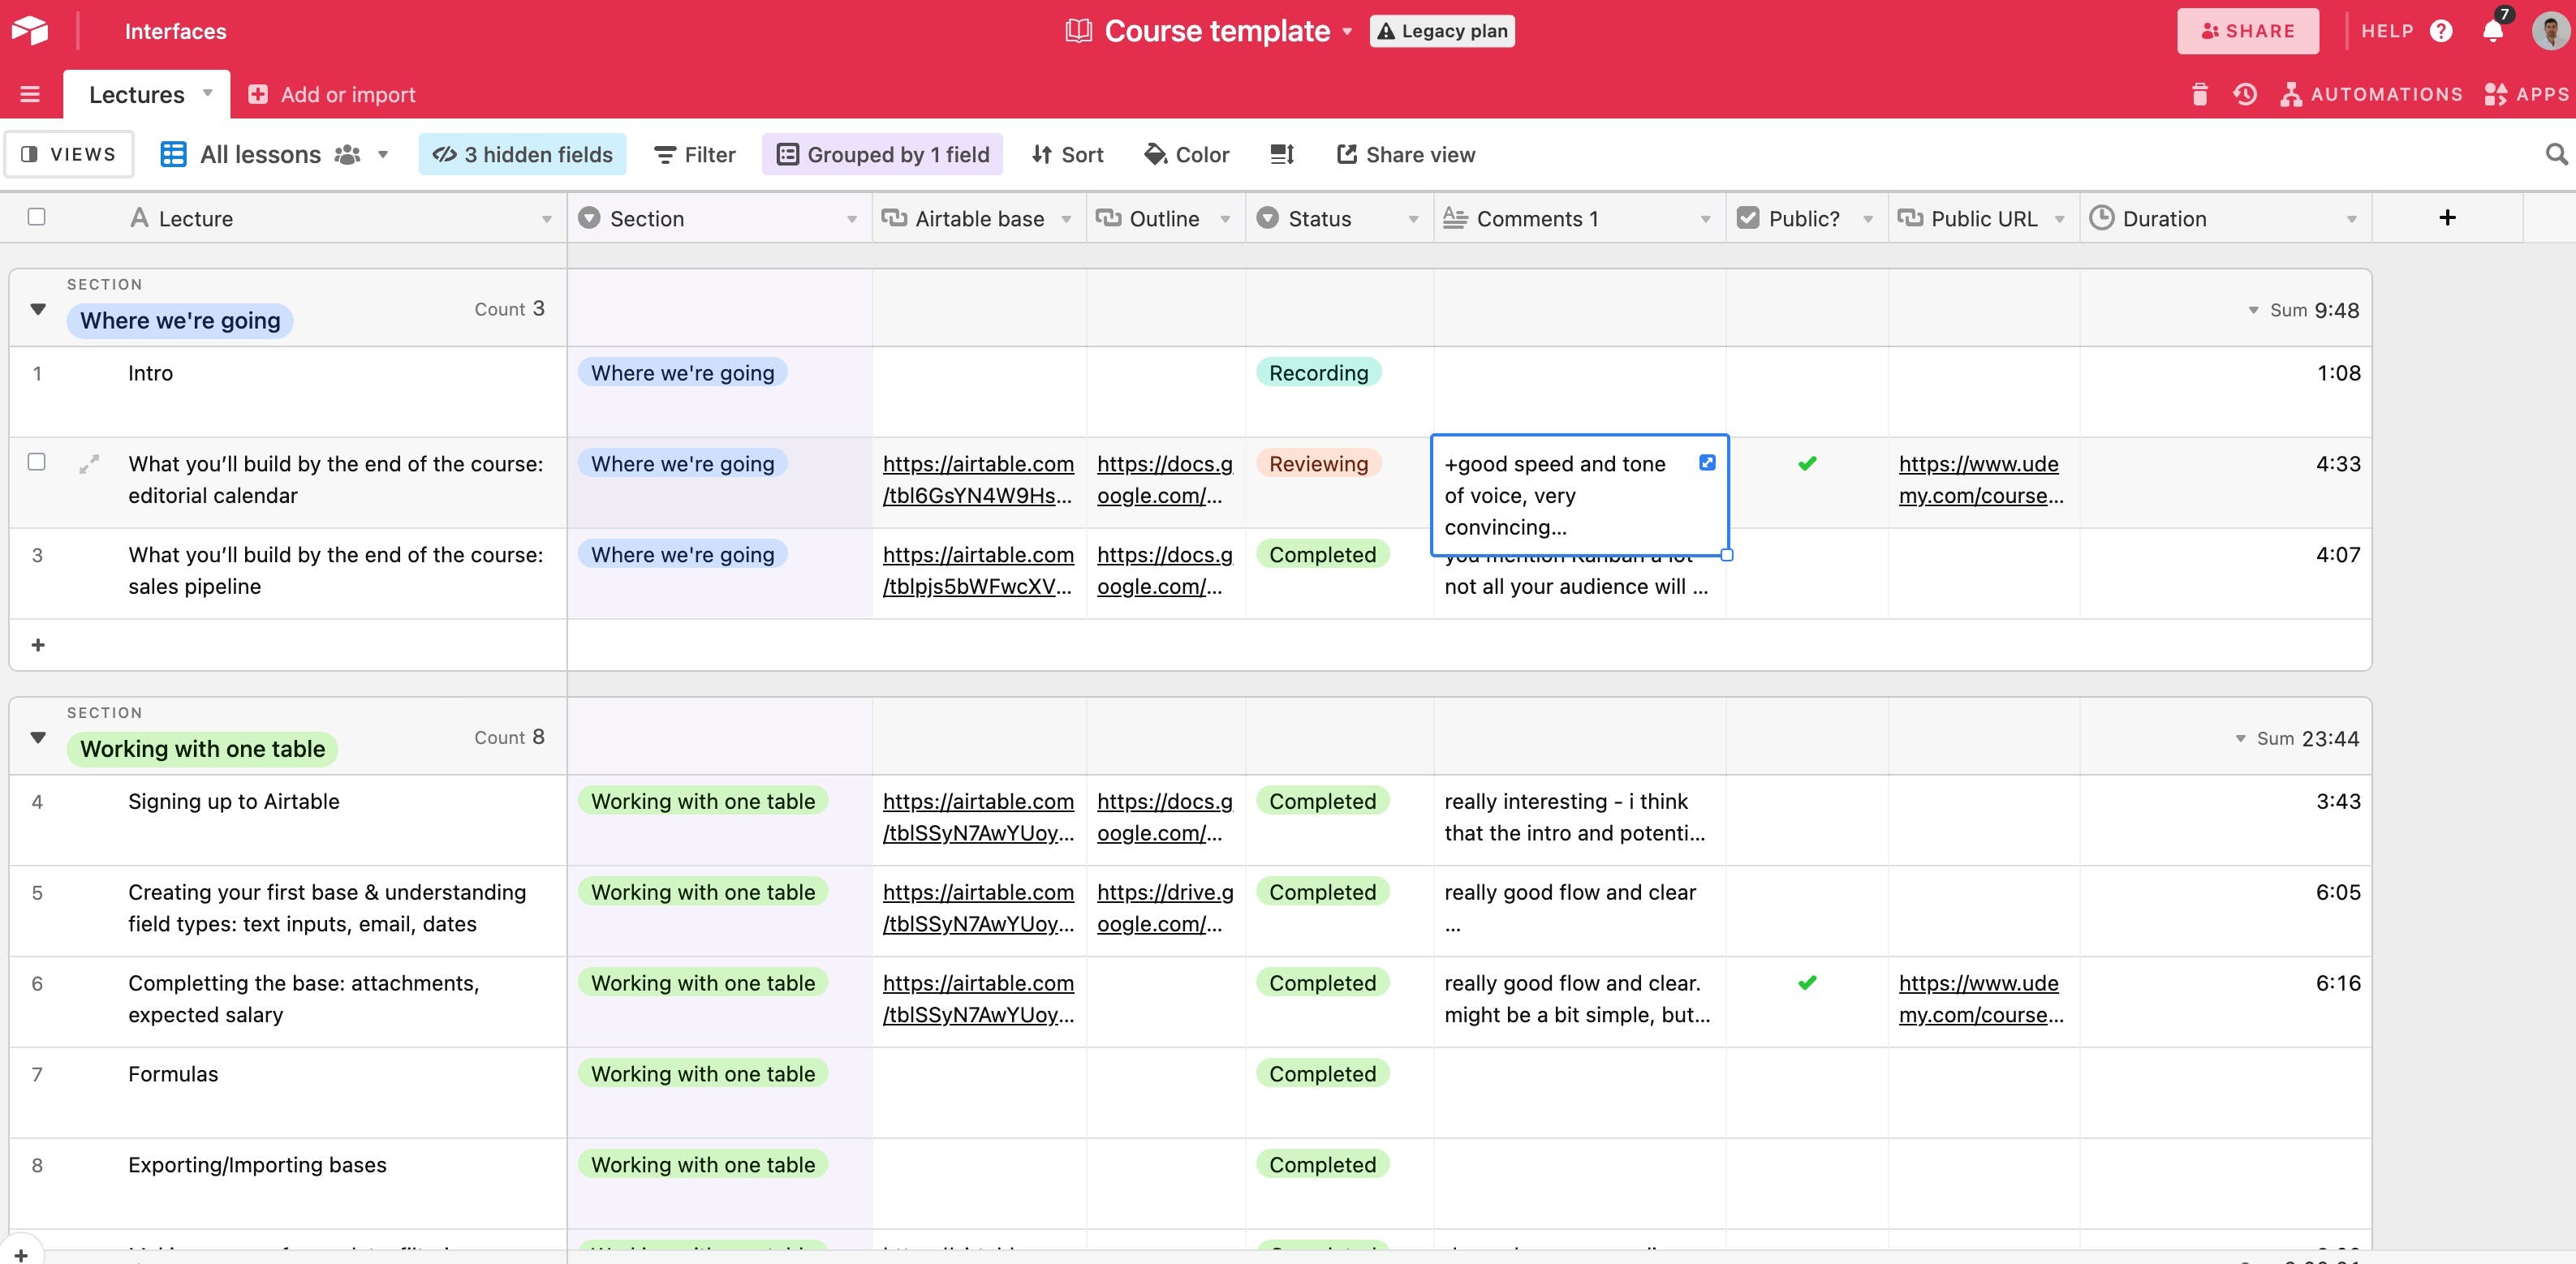
In addition to what I needed to create the course, I also added in Airtable the elements that I wanted to show on the website as fields. Fields for thumbnail, duration, short description, youtube URL.
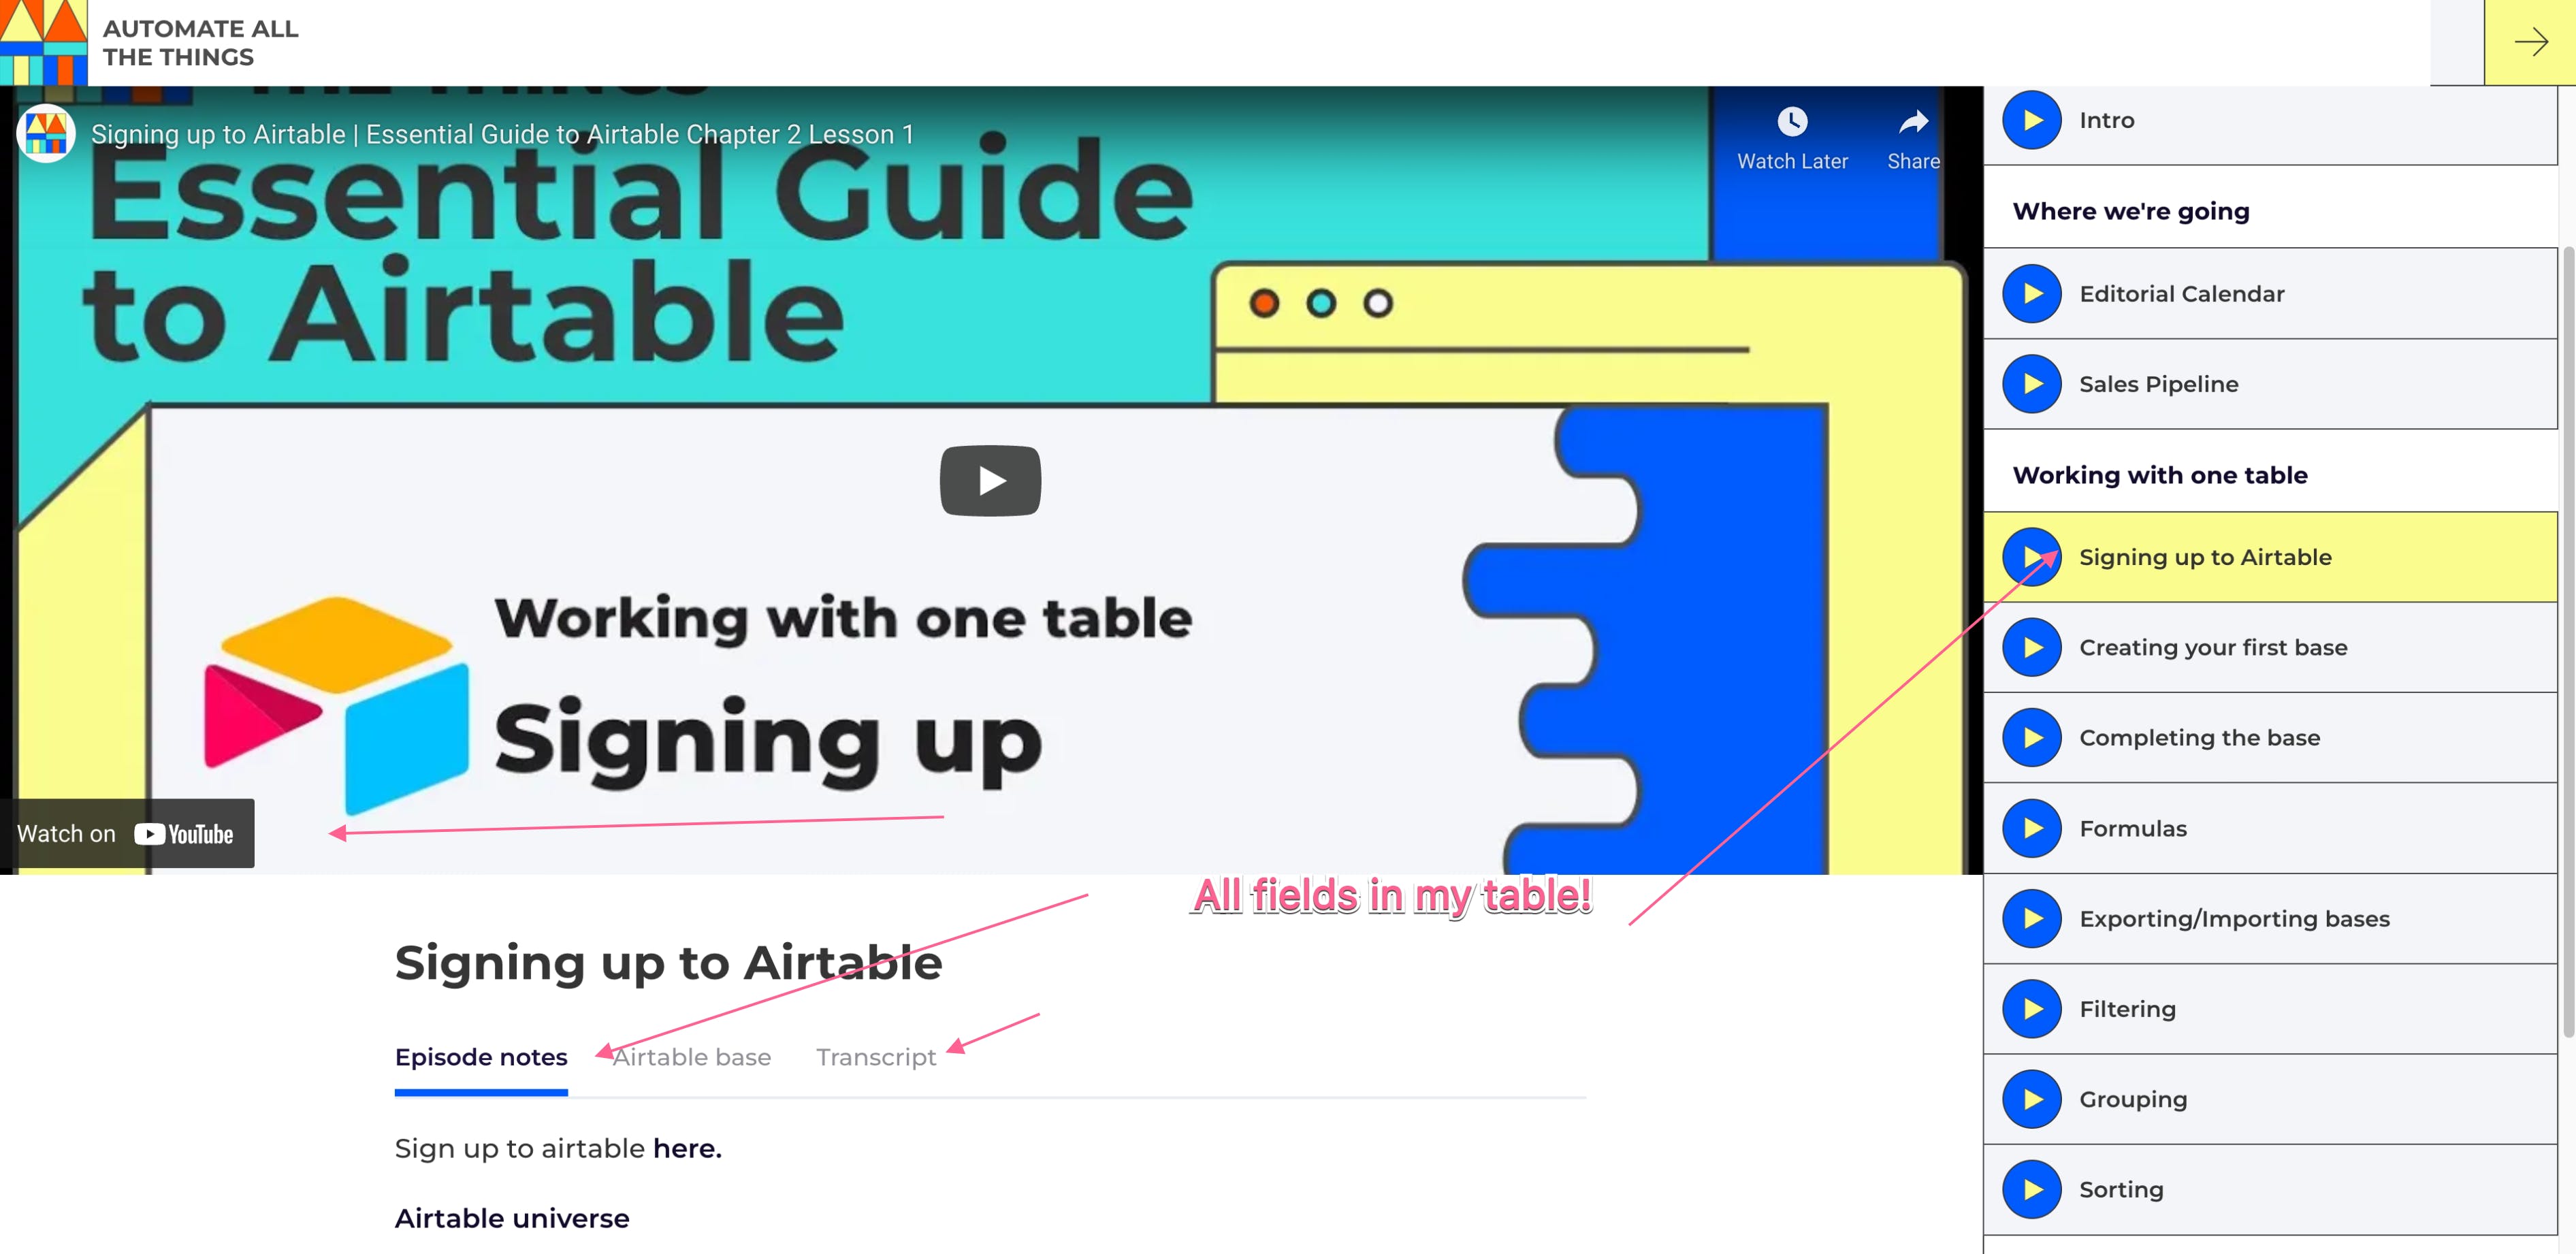
Step 2: Mirror your table in Webflow
I used Webflow as my front-end for this LMS. I already had all the information of my LMS in Airtable, I only needed Webflow to display that information. So I created a mirror of my table in Webflow. Basically for every field in Airtable, I created a field in Webflow (I even named them the same to make things really easy).
For the design side, Finsweet adapted the Telly template which sped up the whole process.
Step 3: Sync Airtable and Webflow
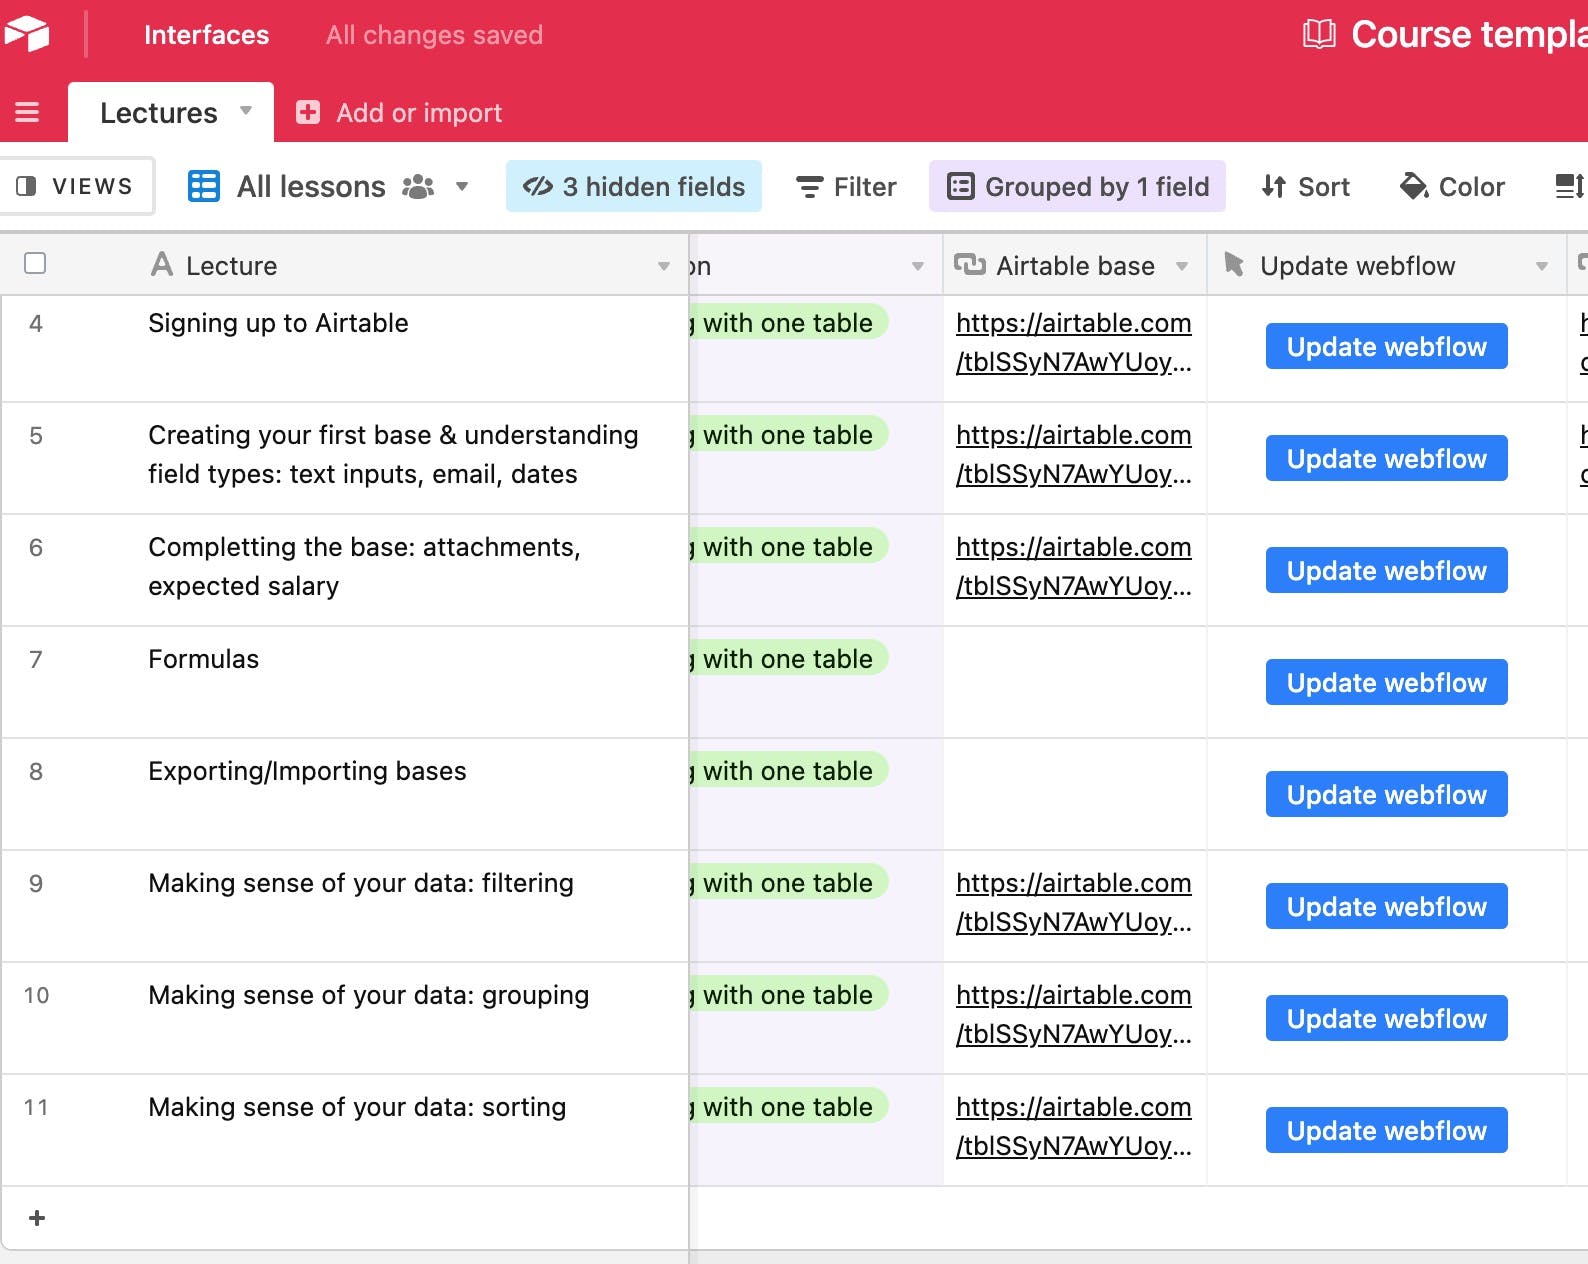
Once the Webflow CMS was a copy of my Airtable base structure, I needed a way for the CMS items to match records in my Airtable base. Course done? Boom send it to Webflow from Airtable. Need to update something? Update it in Airtable and see that update in Webflow automatically.
This can be done in many ways—and I've tried them all. You can use Zapier (here's a stream on that), Nobull app natively from Airtable (another stream), or Parabola even. My favourite way is to use a short script that calls the Webflow API (whole course on how to do that here from Connor in Code Meets No-code). This gives me a button I can press to create/update a lesson's corresponding CMS item in Webflow:
Step 4: Gate the content with Memberstack
With Airtable and Webflow setup, I had a fully functioning learning management system up and running. All I was missing was a way for folks to sign up and pay me (note: I've since made the course free!). With Memberstack, you can gate any page of your Webflow website behind a pay wall. You can charge subscriptions or one time fees for access to a page (or pages). It takes a few minutes to setup and let me gate the whole course (go ahead, try to access it without logging in here).
Mackenzie Child actually did a whole course on this specific build which you can check out here!
In fact, now that I think about it, not only did I use McKenzie's front-end, I also basically used the same back-end. Guess this is the no-coder's version of copy pasting from stack overflow.
This setup has scaled very nicely, it's easy to update the course (which I haven't done much of unfortunately), gate the appropriate content and get folks signed up!
The more intricate part of this build is in fact the email infrastructure which I'll cover next week!
Until then, keep building!
Aron


